These cute little Santa brownie hats came about a few months back and the idea or recipe. It had to come out now fit for the Christmas time when the cute hats will suit perfectly and make Santa such a happy man!
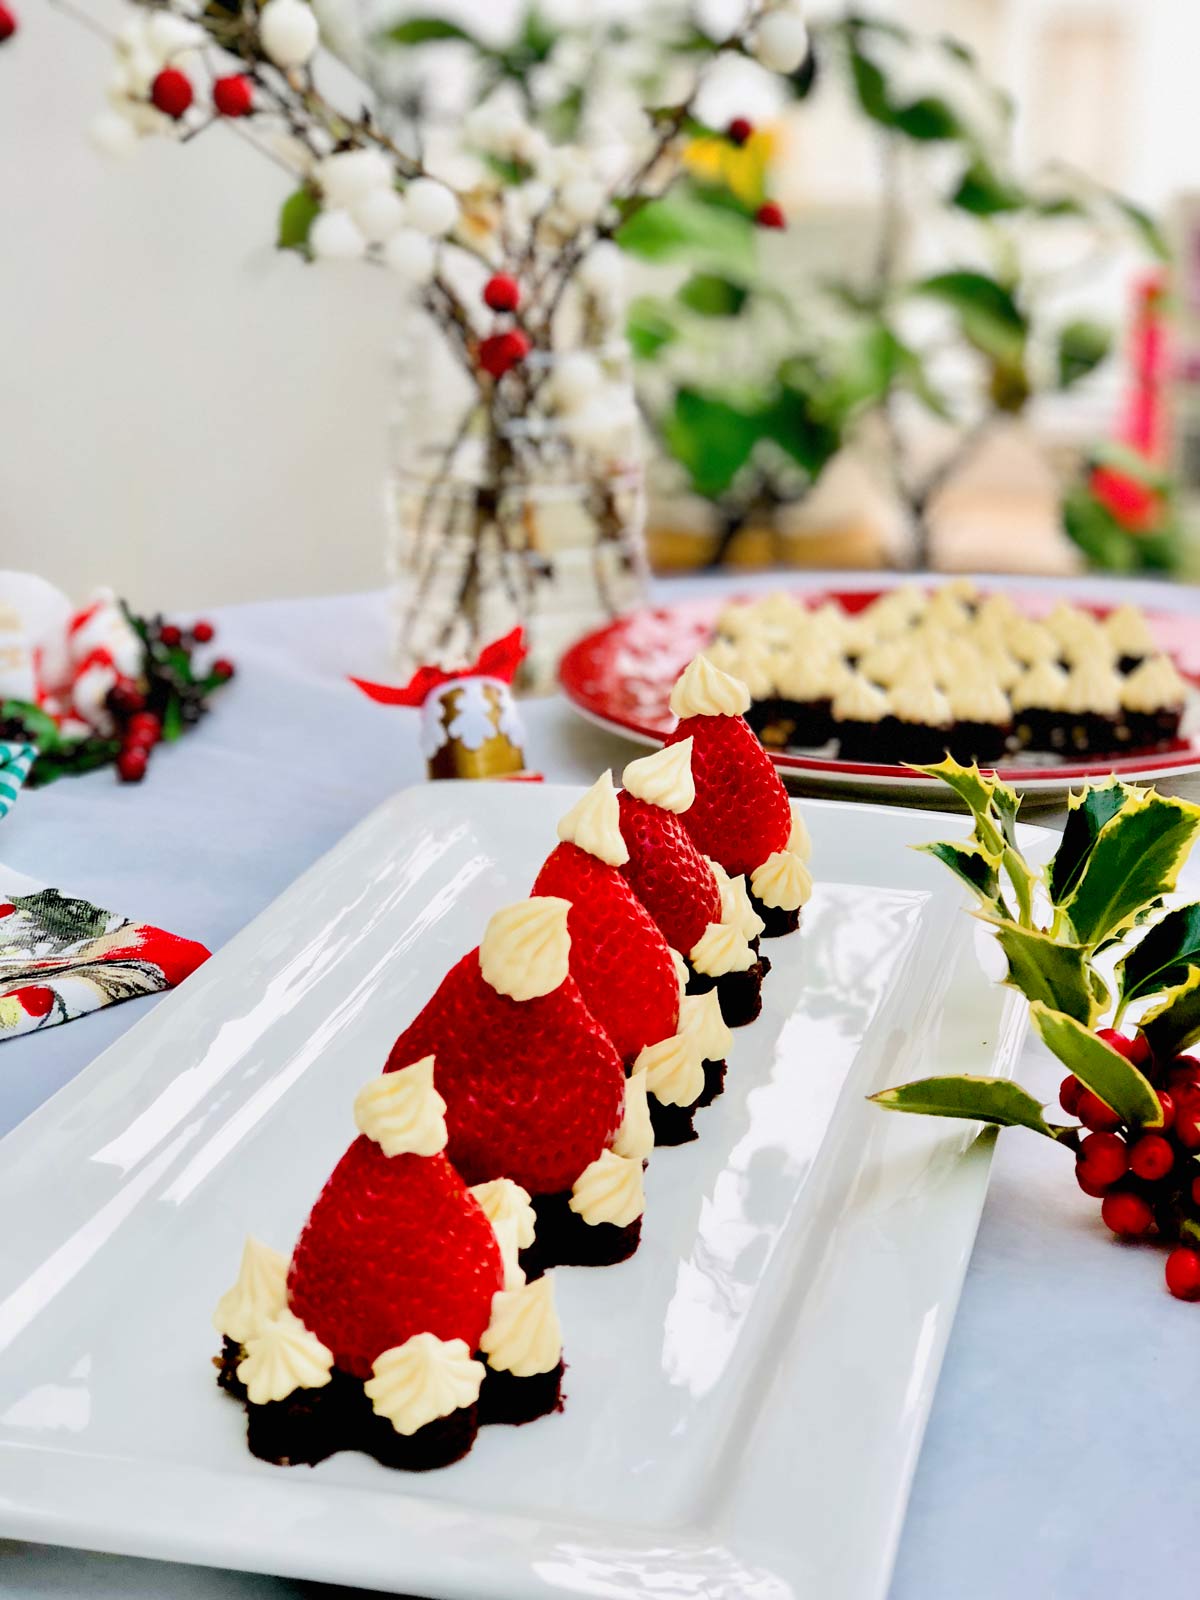
These strawberry and brownie hats are one of the loveliest and most good-looking Christmas treats, a great addition to any festive Christmas table that everyone will adore.
Get kids busy in the kitchen making brownies and Santa happy
We are real fans here of this idea and kids love getting involved in putting these Santa hats together.
Kids really made me laugh by saying that Santa “looked after them” with presents for so many years and now it is their turn to return the rewards Ho Ho Ho haha. They are so right, Santa did a great job for many years.
We were trying all sorts this summer in the effort of mastering the brownie recipe and these emerged out of my daughter’s imagination. Nicole is very artistic and has such a good hand in the kitchen. Andrei also really loves spending time in the kitchen lately, he is really keen and enthusiastic to help.
He started to cook and bake all sorts in school and he greatly enjoys it. I must say I’m very proud of his both cooking and baking skills as everything he’s made so far has been great with no failings so far. He always brings everything home for us to try and give him a verdict on the outcome. How sweet is that?! The brownie in this recipe was 90% made by him.
I do enjoy having the kids around the kitchen helping or doing things and what I like the most is that they’re very good at what they do and have a lot of kitchen sense and skills somehow.
Great stuff so, get your young ones to help with this recipe - it’s those precious and such special and wonderful Christmas times they will never forget.
Make Christmas a magical family time that kids will cherish forever.
Of course, you could use already-made brownies either previously baked, or go the naughty way with using shop-bought ones to save time and you will have those ready in a fraction of the time.
FAQs
Browning butter is not hard, it is a fairly quick process and you should just concentrate on doing this once started as it is a very fine line between brown and burnt butter, so do not leave the stove unattended. It only takes 6-7 min.
Here's how:
1. Place a pan over medium heat.
2. Keep stirring the butter - it is important to keep it moving all the time. Once it has melted, it will begin to foam mainly around the edges.
3. Continue to stir for about 7 minutes until the butter turns golden brown. The milk solids turn brown and oh, the smell - deliciously nutty, toasty, buttery smell.
* This is the point the butter needs to be removed from the heat and ideally is to pour it into another cool heatproof pan or bowl to stop it from cooking any further. This is a very important step as this is the point where the butter will turn to a burnt point. This is it!
Brown butter is done! It is a really nice addition to this brownie giving it a really nice nutty flavour.
Top tip:
Use a light-colored pan so you can easily see and judge the color of the butter and decide when done.
Few more tips
• This recipe makes anything between 16-20 pieces depending on how you cut them. Try and cut them as neatly as you can and as next to one another as possible so you make the most of them with not much “waste”. No excuses for early brownie munching on the premise that you cut them badly!! Do a neat job, please! Wink, wink!
• With the leftovers you could make another dessert with cream fruits and brownie crumbs (if any are left) or even these cake pops which are always a great idea.
• Depending on what shape you use or want to cut those into, I recommend chopping the nuts slightly smaller.
The more rough ones sprinkle on top so when you cut your little hat base you don’t get it messed up by a big chunky nut getting in the way. It might be spoiling Santa's hat shape.
The top ones you can see and work around those. This is called experience. However, if you are using just a simple round cutter this will not matter so much.
• The Baileys Irish cream you could buy ready-made or make yourself. Simply mix 2-3 tablespoon Baileys into 200ml cream and 40g or more of sifted icing sugar. It is simply delicious. Take my word for it.
• For the children I make a separate batch and I add rum essence instead of Bailey’s cream since this is a boozy (adult) option even though it is not much of it.
My kids really love the rum flavour and aroma but also vanilla or a boola-boola cream (cream, sugar and freshly squeezed lemon) will do an absolutely fab job.
If you liked this brownie recipe, you may also like this post containing 17 Ultimate Chocolate Desserts for All Tastes or this Quick, delicious, nuts and dark cacao brownies or why not this protein brownie that's to die for especially as a snack.
Or maybe these Christmas worthy recipes:
Let’s get these hats ready and make Santa a super happy and warm bunny!
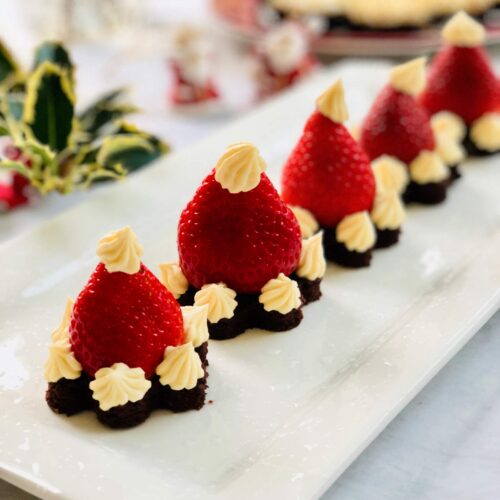
Santa’s strawberry and brownie hats
Equipment
- ovenproof dish
- hand mixer
- oven tray
- pan
Ingredients
For the brownie:
- 190 g cane sugar
- 120 g brown butter melted
- 75 g raw cacao powder
- 50 g flour
- 30 g dry cranberries
- 2 eggs at room tem[erature
- 1 tablespoon heaped creme fraiche
- 1 teaspoon Vanilla or rum essence
For the hats:
- 16-20 strawberries
- 200 g Irish Cream Baileys thick cream *
Instructions
- Prepare and grease an oven tray or an ovenproof dish (I used a 28cm round glass one). Grease it and preheat the oven to 150°C if fan assisted and 170°C if it is not.
- Melt the brown butter or brown it now if you don’t have any and set it aside.
- In a medium-sized bowl, combine the sugar, vanilla and cacao powder and salt. Mix these slightly while dry and then add the butter slowly whisking gently.
- Add the eggs which should be at room temperature, one by one and beat in between. Beat this for a minute or two.
- Add the flour gently and incorporate this in nicely, then add the nuts (roughly chopped and toasted) and stir them in a little more equally spread them within the mixture.
- Spoon the mixture into the prepared oven dish and bake for 20 mins. The mixture should be around 1 cm thick.
- While the brownie bakes, start preparing the strawberries by washing and slicing the top from each strawberry to leave a flat base.
- When the brownie is ready, take it out of the oven and if you used parchment paper you can take the brownie out on a wire rack for it to cool faster. If no parchment was used just allow it to cool in the actual dish. It is important that you allow it to cool before starting to cut into it.
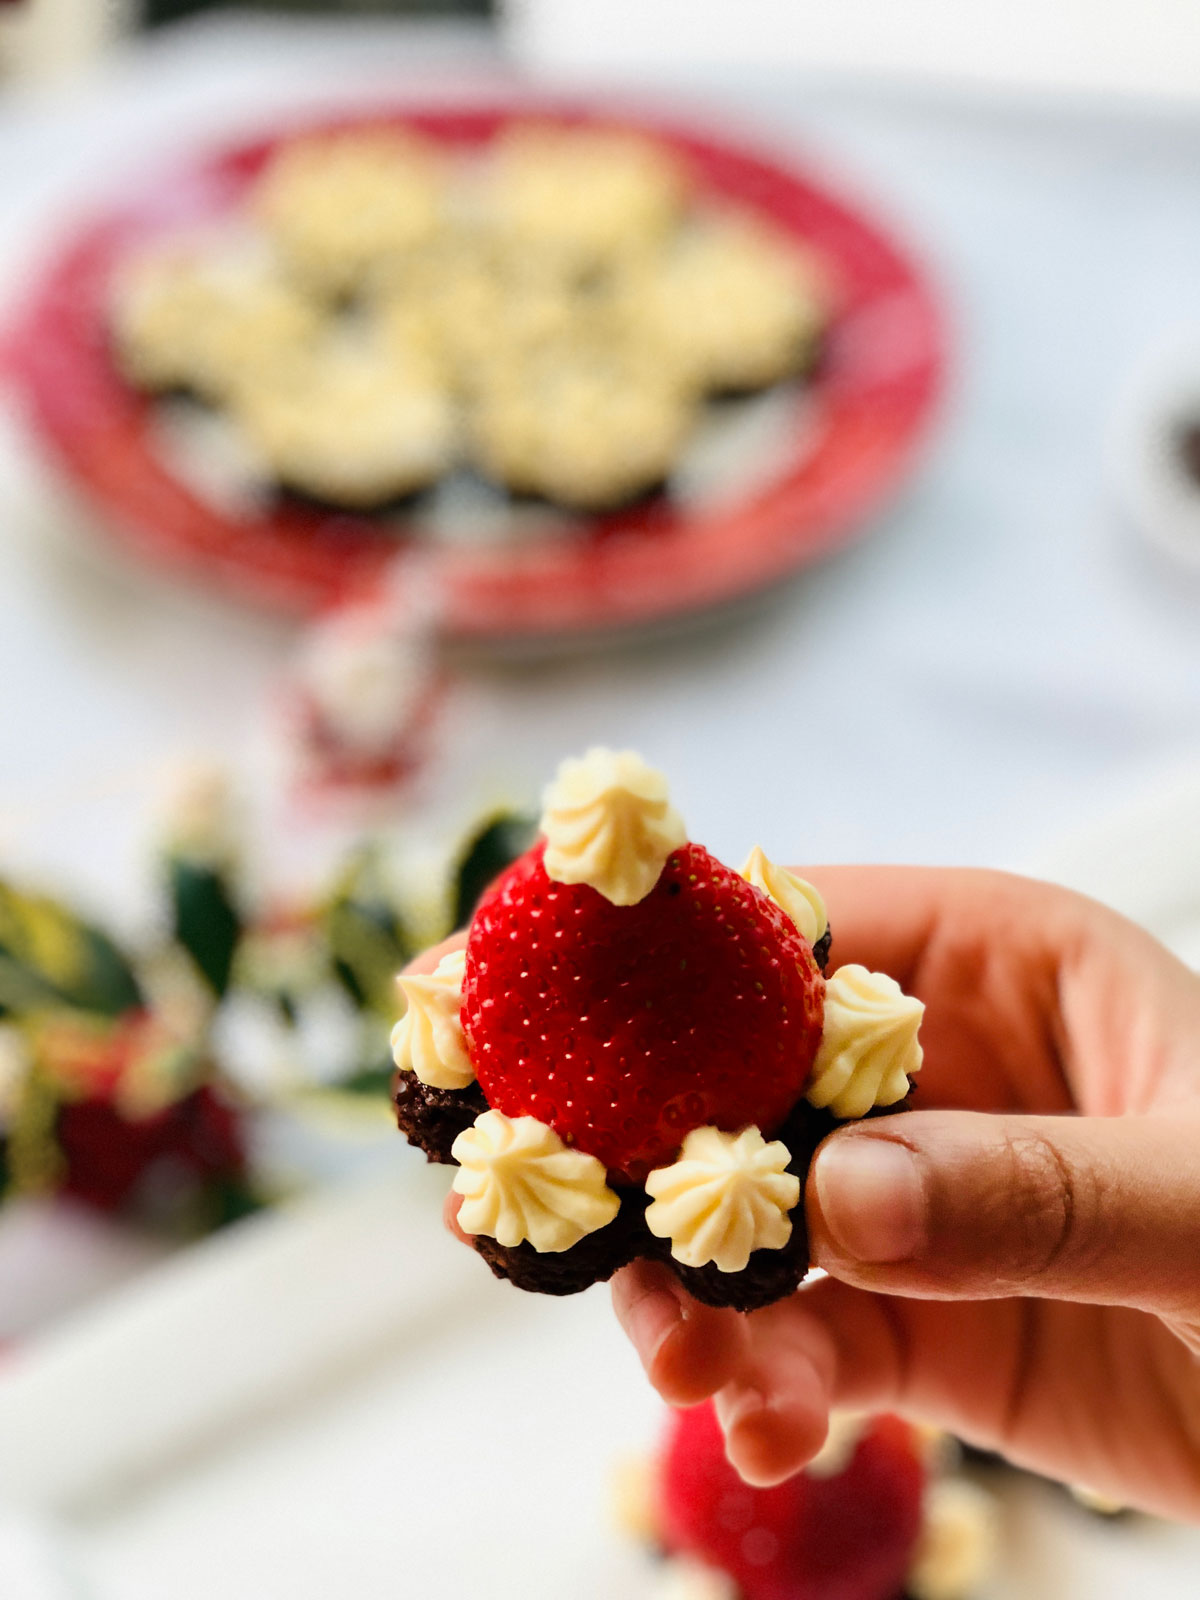
- When the brownie has cooled, using a cookie cutter (any desired shape - I used a flower shape with 6 petals) begin to cut your little Santa hats base. Place the cut ones on a plate. It can be the actual serving plate.
- Using a piping bag with a small nozzle, pipe a dot of the thick cream into the centre of each cooled brownie and top with a strawberry. Pipe around the base of each strawberry a few more dots and finish with a small dot of cream on the pointed top to make a tiny cute little bobble for Santa’s hat.
- Serve and enjoy these attractive little cute Santa hats.


Natalie says
This is such a lovely idea. My son will love these. I'm saving the recipe for Christmas. Thanks!