Start making your own cheese in the comfort of your home. Nothing compares with homemade cheese and this farmer's cheese recipe is easy to make and delivers goodness. Just give it a try and you will definitely be in love with the outcome. You will love how versatile this cheese is and how many recipes this can be incorporated into, both sweet and savory. I will list a few recipes below, just look for these to get some ideas.
What is farmer's cheese?
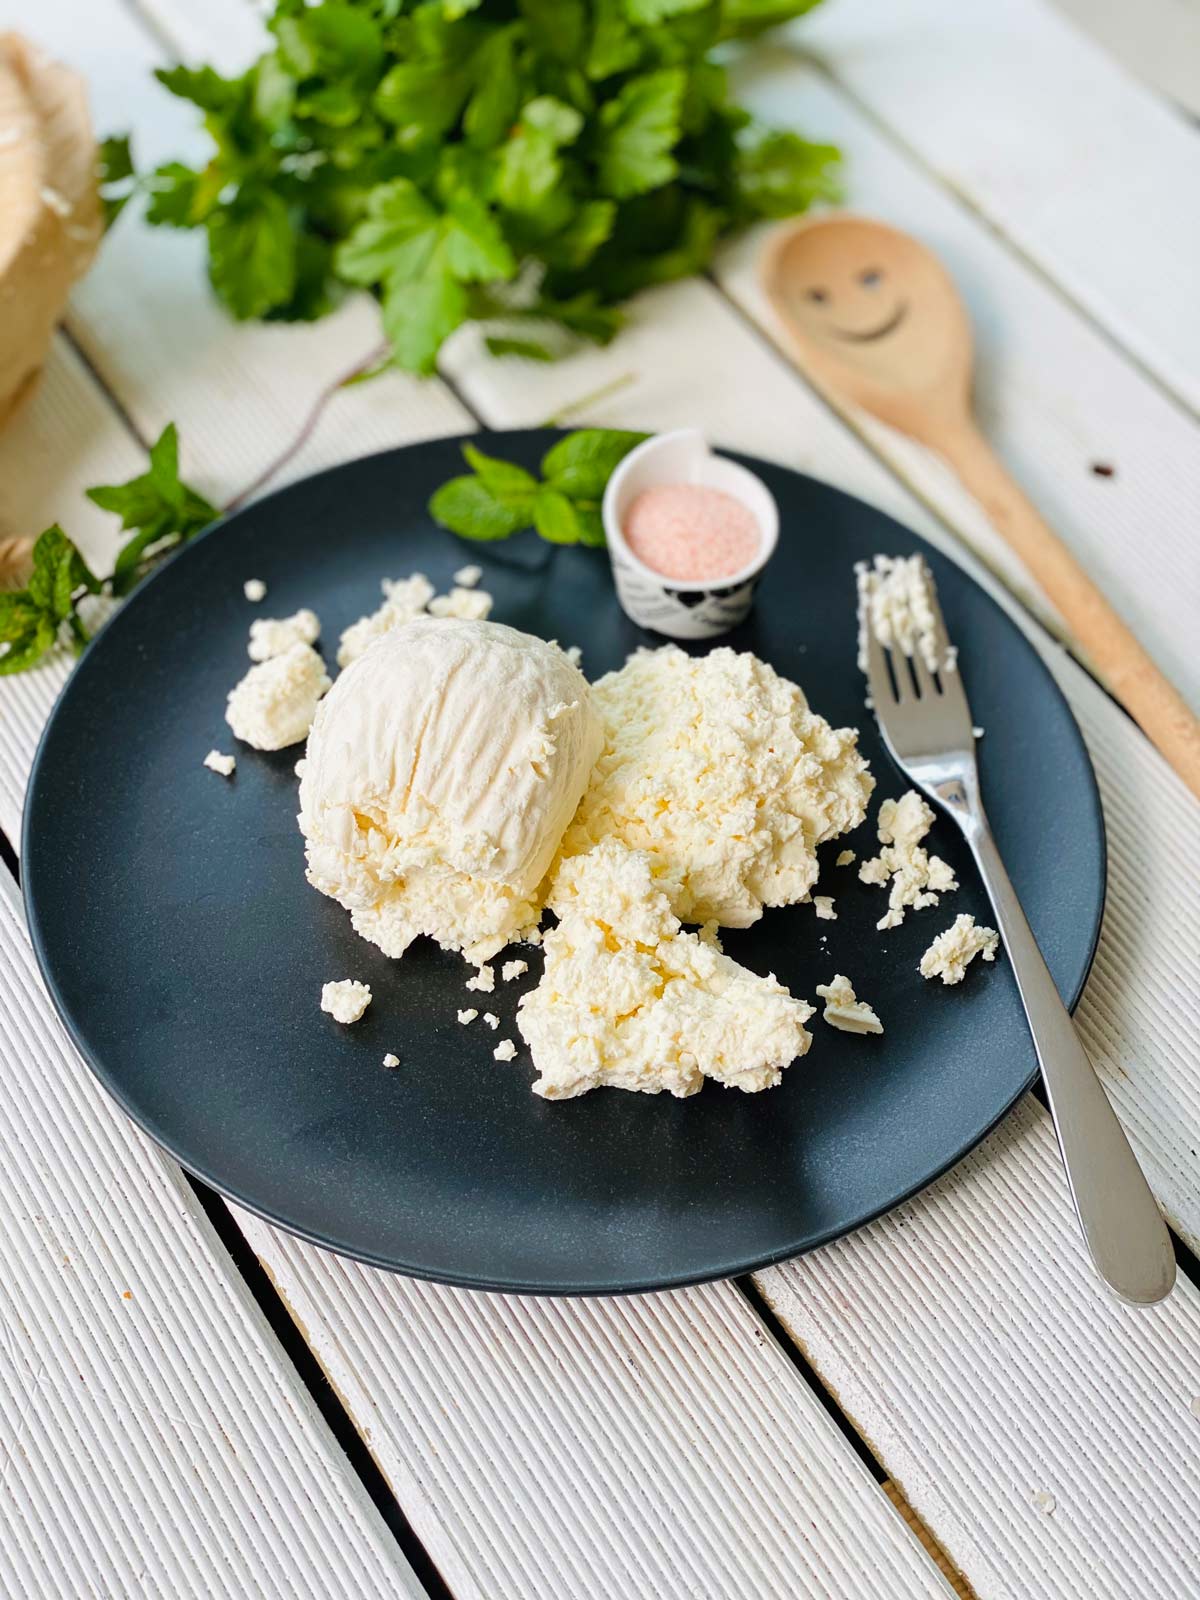
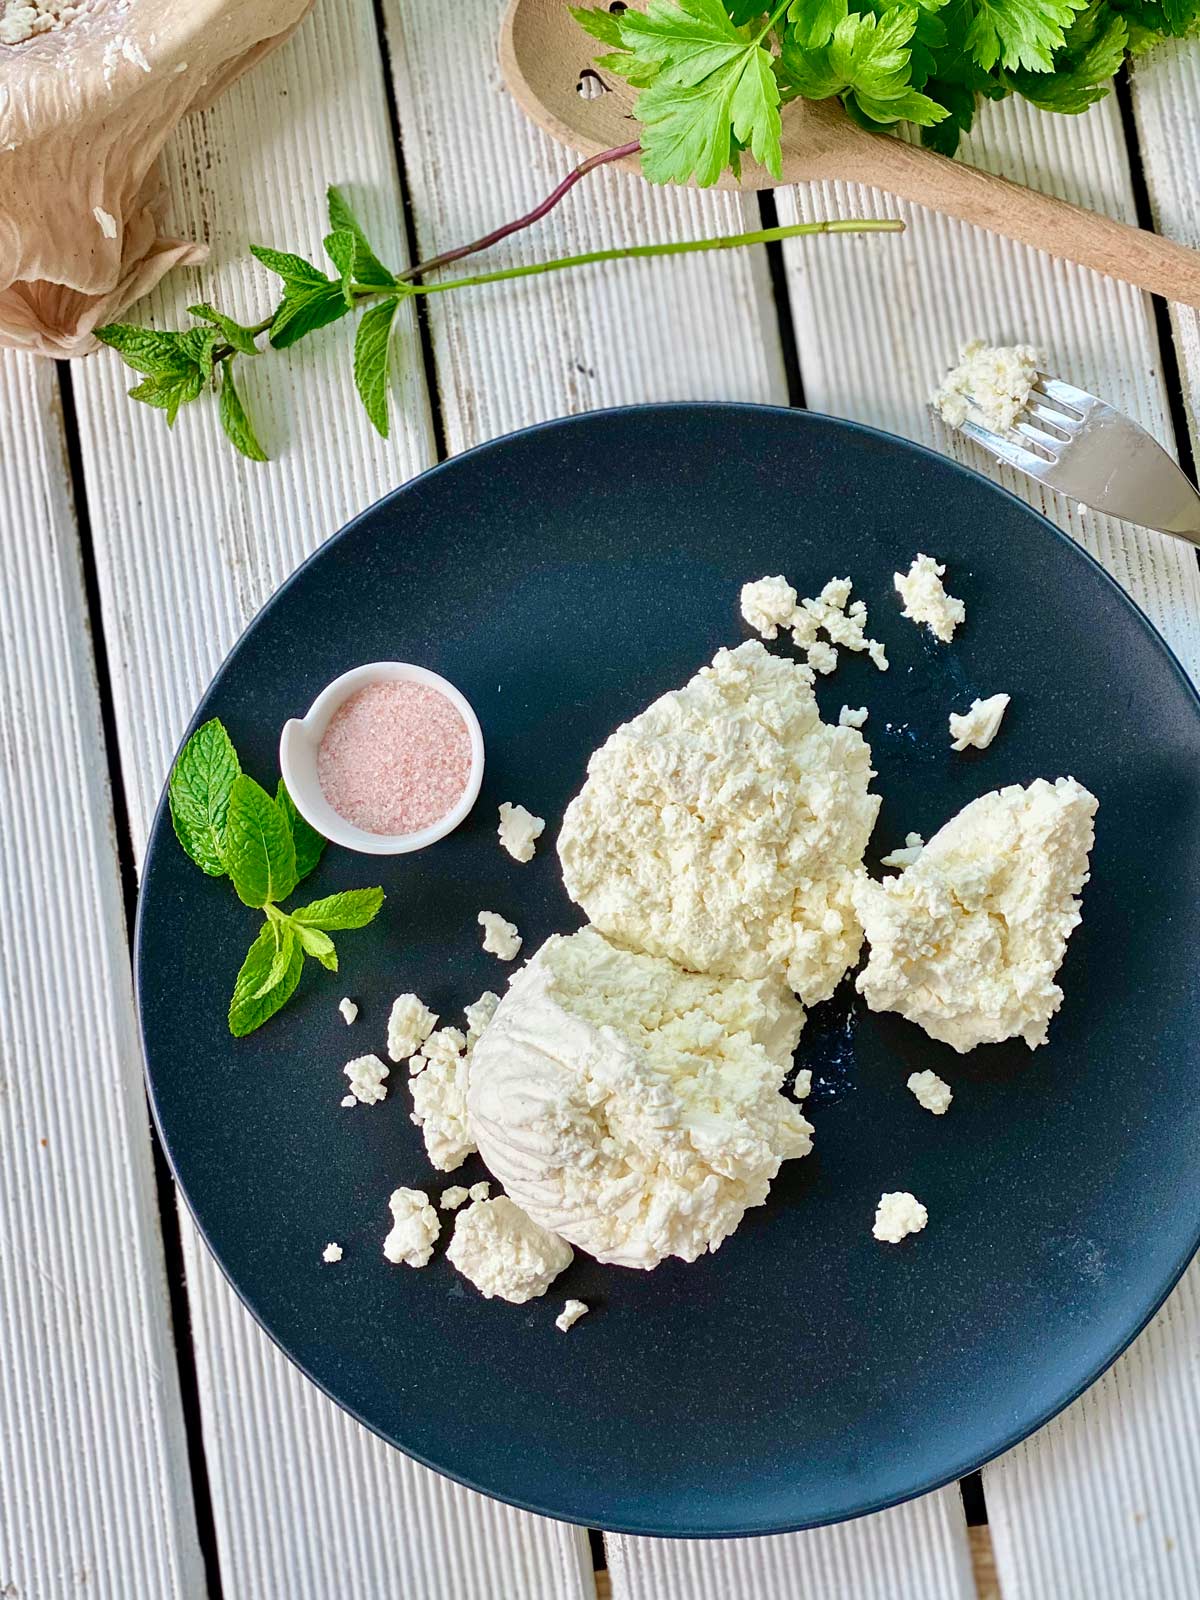
Farmer's cheese is a mild white fresh cheese. It is not aged, nor pressed, it is really easy to make at home in small batches for the real freshness this can deliver. Farmer's cheese has a crumbly texture and the flavor is quite subtle. True homemade deliciousness.
The beauty of making fresh homemade cheese is that it can be made at home all throughout the year, using nice organic fresh milk. If you happen to have a farm nearby and getting some fresh milk is a real bonus 🥳
How to make farmer's cheese
Easily made at home, it will make you feel like a true domestic goddess or a king of course! A bit like when making your own homemade sausages 😉
Homemade farmer's cheese, anything homemade from scratch is the best.
There are two ways of making this delicious homemade farmer's cheese:
- The quick way - involves acidifying the milk - this can be achieved by adding an acidic ingredient such as fresh lemon juice, rennet, or vinegar. All you need to do is to add lemon juice or vinegar to the milk and it will almost instantaneously curdle.
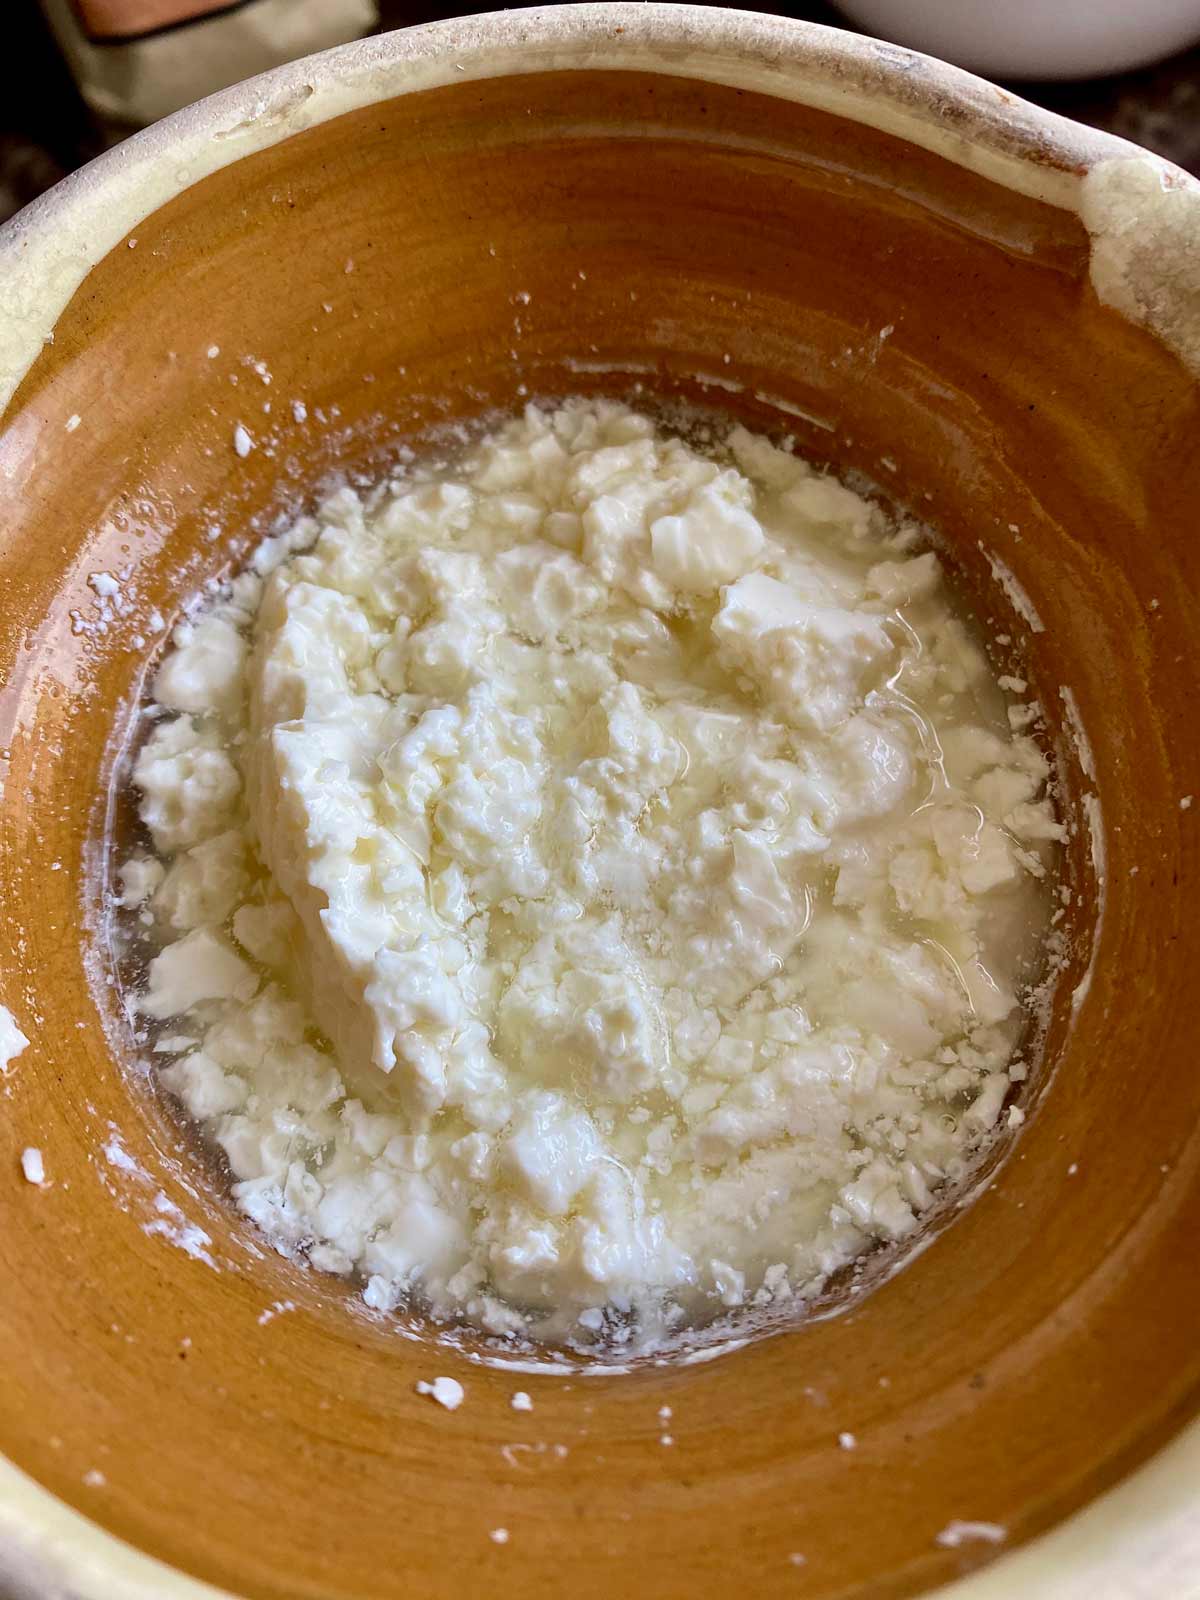
- The longer way - is allowing the milk to naturally ferment and this process can take 2-3 days depending on ambient and mainly temperature. All that is needed is to add the milk to a mud or ceramic pot, add some natural cottage cheese mix and allow it to curdle. Check it every 8 hours to see when it will be ready. Ideally is to wait until you get to see the whey and it is clearly separated. Just like this in this picture.
What do I need to make farmer's cheese?
To make this homemade farmers' cheese you will only need:
- a little patience (a couple of days or so)
- some milk - quite a bit of it
- a mud pot ( if you are to let it ferment naturally) or any ceramic dish - nothing metallic should be used
- cheesecloth (a clean kitchen towel will work too) - this will be needed to strain the cheese
- wooden spatula or spoon - used to mix
Also, before you start, check to make sure you have a cheesecloth and a fab quality milk to hand.
What milk to use for homemade cheese?
Whole milk or full-fat pasteurized is the best option if you ask me, especially for beginner cheese makers to work with.
If you want to reduce the fat percentage and thus want to make a low-fat cheese version a 2% fat pasteurized milk will also yield a fabulous result. Try both, but the higher the fat percentage, the better the curd and the taste will be.
Going low on the fat percentage will compromise the outcome with an impact on the creaminess and the flavor of the cheese. Of course, if you have to lower the fat percentage, some people's diet requires so, and have to make the cheese a low-fat one feel free to do so, it will work well. The cheese will be less creamy and more crumbly but still good.
If you need to make it less than 2% fat, collect the little fat layer that accumulates at the top of the milk.
I do not recommend using ultra-pasteurized (boiled) milk as this will not work well in cheesemaking because the proteins would have been undermined, and the calcium will not bond the way it should and therefore will not deliver a good curd.
Alternative ad-ons
This farmer's cheese is fresh and made-from-scratch cheese so feel free to customize it by adding your own favorite ingredients like:
- fresh or dried herbs ( parsley, dill, mint, dried Italian mixed herbs - mixe those with the curd or just top or sprinkle them on top of the finished farmer cheese;
- olive oil
- red pepper flakes or plain freshly ground black pepper or other spices such as cayenne pepper, or cumin - wonderful particularly when making amazing dips for crackers or crudites.
How to serve farmer's cheese?
Homemade farmer's cheese is really versatile, this type of cheese can be served:
- with homemade bread or on crackers
- crumbled on potato salads
- can make superb stuffed pasta shells
- makes a great cheese choice for a delicious lasagna;
- blended with cream cheese, creamy Greek-style yogurt, and ricotta to make a fab dip like this Creamy Cucumber, Fennel & Yogurt Dip always a fab alternative for mascarpone or ricotta cheese when smooth texture isn't required.
How to make homemade cheese (tvorog) - the traditional way
This is how my grandma used to make it. My mom is still using this method of making farmer's cheese. This method can take up to three days, but the steps are easy and the outcome is simply wonderful. Needless to mention you will feel like a real ninja after you've made your own cheese!
As I mentioned, I will emphasize again, please use organic milk for the best-tasting cheese (you can buy reduced-in-price organic milk, milk that is about to expire just for this).
You can use this farmer's cheese to make ricotta pancakes or a superb semolina souffle Keep the yellowish liquid called whey, to make bread.
Day 1:
1. Allow the milk and buttermilk or yogurt to come to room temperature on the counter - this takes approximately 5 hours.
2. Pour milk and buttermilk into a large mud or ceramic pot. Cover and place in a warm sunny corner of the kitchen or in the oven at approximately 40˚C or 110˚F for 1 hour or so. The milk should be lukewarm.
3. Remove from the oven if using an oven and place in a warm place (a sunny corner in direct sun is best) and allow it to sit for 18-36 hours. Avoid stirring it.
Day 2:
4. To speed things up especially if your kitchen isn't the warmest place, place on the stove again over low heat (uncovered) for 30 minutes or until it has warmed well. Do Not Stir! The heat should be really on the lowest possible as high temperatures destroy nutrients and protein.
5. Remove from the heat and place in a hot corner again for another 18-24 hours.
Day 3:
6. Place again on low heat for 40 minutes (uncovered) or until hot but do not bring to boiling point. The cheese will separate nicely from the whey. Turn off the heat and allow it to sit covered for 1 hour or so.
7. Place the cheesecloth over a large colander or set inside a large bowl. Pour the cheese mixture into the colander over the cheesecloth.
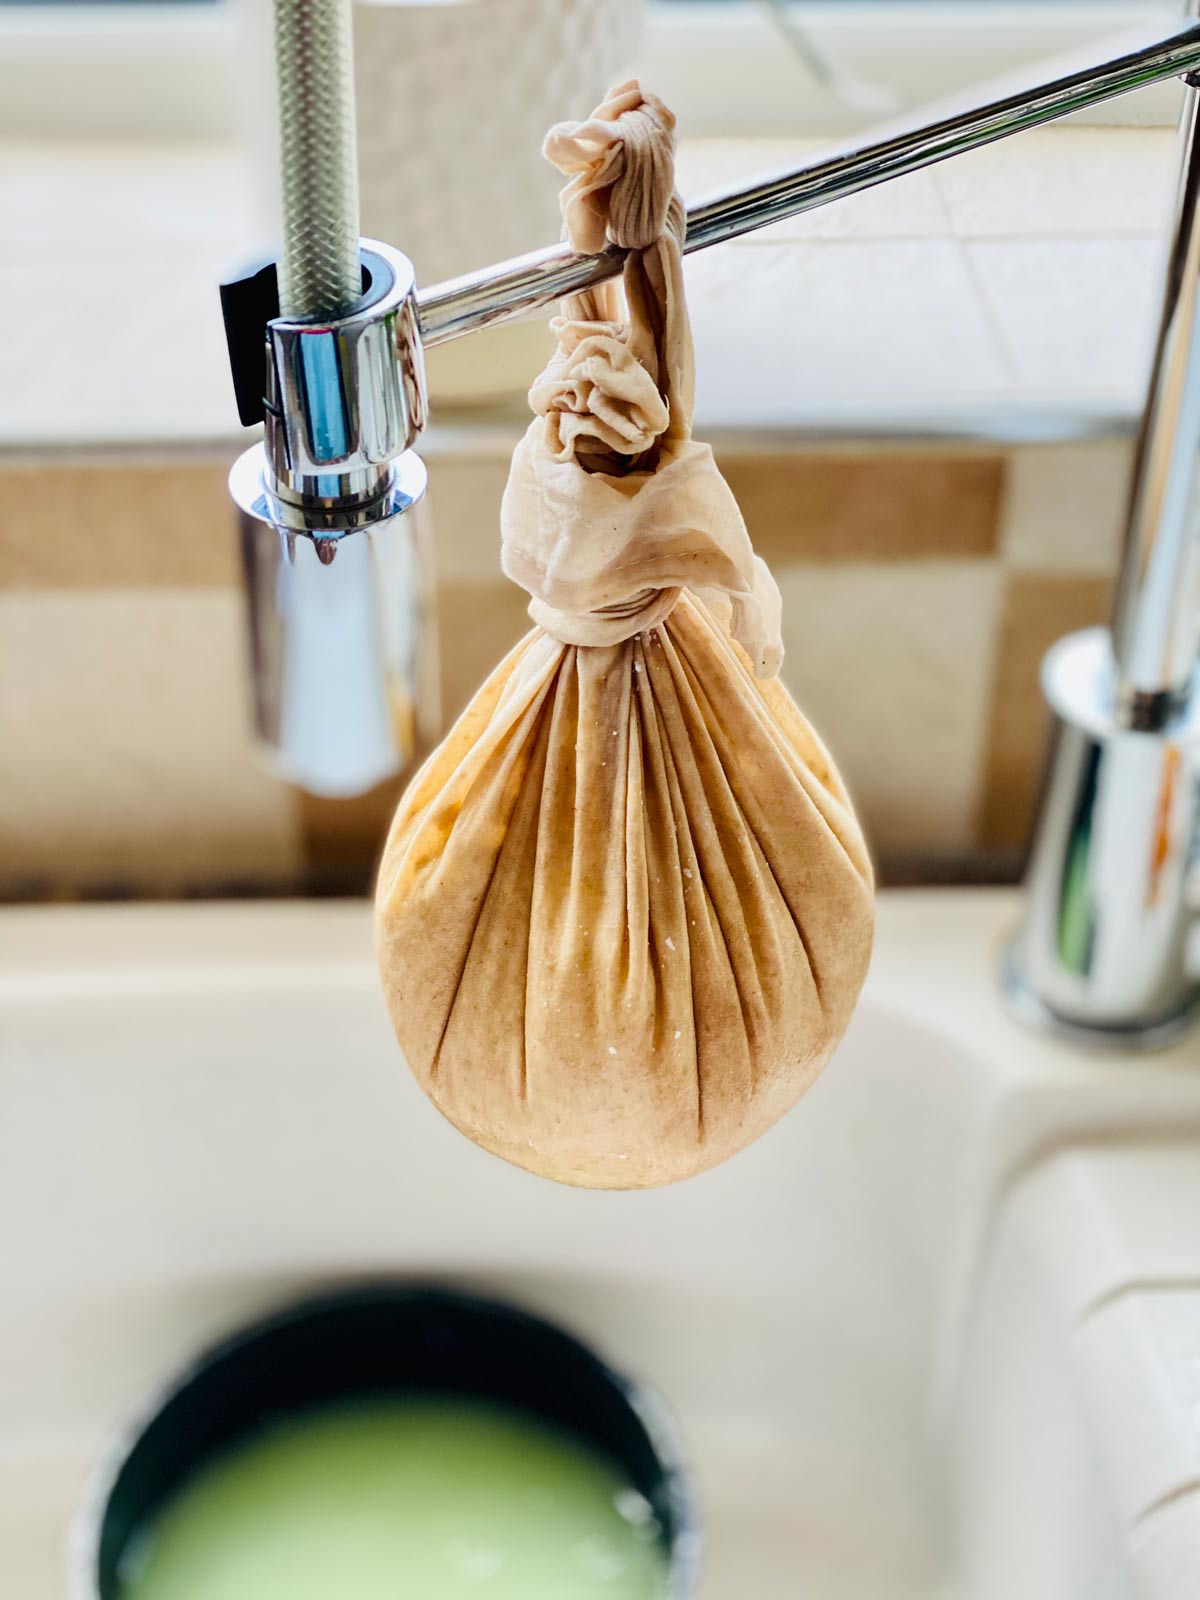
8. Tie a knot on the cheesecloth and hang it over your kitchen faucet for literally 8-10 hours, or even longer for a really dry cheese. You may also place it on a chopping board and place another hardwood chopping board over it. Place something heavy (2-3 kg or 4-6lbs) over the top.
9. Remove the cheese after 10 or so hours and use it to make something delicious with it or just refrigerate it in an airtight container or in a ceramic bowl covered with cling film.
Tips:
- If you live in a nice and super hot country or you are making this farmer's cheese in the summer period, even here in the UK, you will not even need to heat the milk at all. Just place it in the sun covered in a mud pot and that will suffice.
- I make it this way in the summer - always without fail and it is delicious.
- There is no need to measure the ingredients approximate measurements (eye-balled) will work fine.
- You will need roughly 1 heaped teaspoon of yogurt or soured cream per 1 cup (250 ml) of milk.
- Do not use UHT (Ultra-Pasteurized or long-life) milk. It won't work, guaranteed! It will turn bitter.
- If you're using fresh, raw milk - no sour milk is necessary.
This is my favorite method to make farmer's cheese when I am in no rush at all to make it. The lemon version is quick and it only takes a few hours instead of days.
FAQs:
Farmer cheese will keep well for up to a week in the refrigerator and has to be stored in an airtight container.
You can also freeze this cheese. Simply wrap in clingfilm and then place in a freezer bag. After thawing the cheese, you will notice the cheese texture will be somewhat crumblier.
Yes, absolutely, please do not throw away the whey! See recipe notes for more details. This recipe will produce approximately 6 cups of whey which can be stored in the refrigerator in an airtight container for up to a week and used in bread baking, smoothies, soups, or even baking cakes. We put it in the fridge and in the summer we drink it. It is so refreshing and protein-packed.
Yes, you may if no other option but I do not recommend it as it turns dry and crumblier hence you will see a dramatic change in texture. Choose to freeze the end product instead.
Quark is soured milk, a freshly made, unaged cheese product that is gaining popularity because of its versatility. Some know it by the name of dry curd cheese, farmer's cheese, or even pot cheese.
It is found all over Germany, Poland, Hungary, Romania, and Austria where it is mainly known as twaróg, branza de vaca. You can eat it straight like cottage cheese, as a spread, for some desserts and you can also bake with it. Quark also gets drained afterward, so it is almost the same thing but the texture might differ slightly.
Some recipes to make using farmer's cheese:
- Ricotta pancakes with pineapple and rum
- Feta and ricotta cheese with spinach and dill filo wraps
- Cream cheese and pesto bruschetta with fresh basil flowers
- Creamy cucumber, fennel & yogurt dip
- Semolina and Ricotta Cheese Soufflé
- Heavenly Mixed Nuts And Ricotta Cheese Cake
- Quick 'n' Yummy Mushrooms
- Semolina, Ricotta Cheese And Coconut Cake
- Easy Protein Brownie Recipe
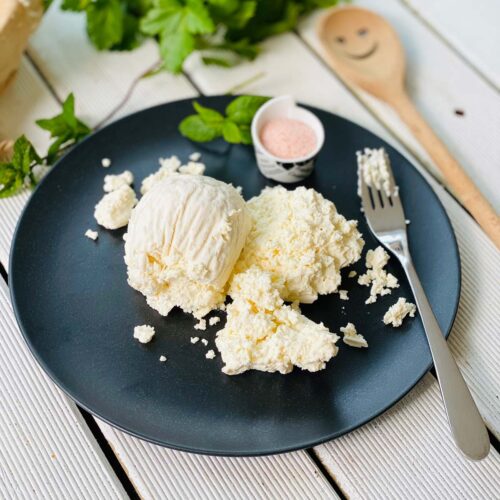
🧀 Homemade Farmer's Cheese
Equipment
- mud pot
- cheesecloth
- wooden spoon
Ingredients
- 2 l milk (8 cups) organic whole milk
- ½ tsp salt pink Himalayan or kosher
- 4 tbsp lemon juice or cider vinegar
Instructions
- In a larger enameled pot, bring the milk to a slight boil, stirring occasionally. Add the salt now or you can choose to add lated to the actual cheese when this is ready. Keep the heat on medium or even low to lower the risks of burning the milk on the bottom of the pot.
- When the milk its at almost boiling point and has foamy bubbles forming on the surface of the milk turn off the heat. You may even use a thermometer to check the temperature and this should be should be somewhere close to 85°C or 190° F.
- Add the lemon juice or the cider vinegar and stir gently using a wooden or a silicone spatula or a spoon. Avoid using anything metallic. You will notice that pretty much immediately the milk will start to curdle. Add a little more lemon or vinegar if it does not.
- Allow the milk to rest for 15-20 minutes. Avoid stirring.
- Add more salt, fresh herbs, dried ones, black pepper, whatever you fancy adding to your cheese, add it now.
- Place a good size colander over a large bowl or a large pot. Using a slightly dampened cheesecloth to drape over the colander. Pour the curdled milk into the cheesecloth.
- Gather all the ends of the cloth, tie a knot and hang for approximately 30 min -2h depending how dry or creamy you want your farmer's cheese to be. You may even squeeze the cloth and get as much whey out of the cheese and there you have it. I personally like it more on the dry side. It also depends what I intend to do with it. See recipe notes for more ideas on how to shape your homemade cheese.
- Enjoy this tasty homemade farmer's cheese as it is or use it in your own favourite recipes.
Notes
- if you do not have a cheesecloth use a thin dampened super clean kitchen towel over the colander.
- Do not throw away the whey! Remember, we have a no-waste approach and whey is fantastic for bread making, can be added to soups, or it makes a fantastic protein booster and can be added to smoothies. You may store the whey in the fridge and use it later. Store in an airtight container or a jar with a lid.
- To give the cheese a disk kind of shape, keep it wrapped in the cheesecloth forming a mound on a plate, cover it with clingfilm and place another plate over it. You may place something a little heavy (a small (250g) bag of pasta, rice or a smaller jar) over the top plate to add a little weight. Refrigerate for one to two hours. Remove the cheesecloth.
- To give the farmers cheese more of a ball shape tie the cheesecloth with 5-7 inches of butcher's twine, attach it to a sink tap, a wooden spoon and suspend it over a bowl for a good 30 minutes.
Nutrition


Sadie says
Hi! I've made Farmer's Cheese many years ago but I don't remember using a mud pot. Is this a dried bowl, bisque fired but unglazed? Can a glass or plastic bowl be used? How about Terra Cotta? I've worked in clay since 1973 (Not a potter but a hand builder) and I'm not sure exactly what you mean by a "Mud Pot". Thanks for any info you can share..
Ramona says
Hi Sadie,
Yes, it is glazed the one that I am using but glass will work too. I do not recommend plastic due to the chemicals but glass, ceramic or terracota will work perfectly.
Judy says
What is the amount on the organic milk? 21 what???
Also, I am 100% Polish and all of my grandparents were from Poland. They would never, ever had heard of pink Himalayan or kosher salt. Any salt would have been used as they were peasant farmers.
Ramona says
Hi Judy
It is 2 l (two litres) of milk
Yes, indeed, I use any salt that's not treated. Our ancestors have not heard of Himalayan salt here in Europe but it is un untreated salt same like the kosher salt. It is the pickle salt that I use. There are a few options for salt but you may use any you have on hand.
Melanie says
OMG this sounds amazing, I have to try it asap! I love how I don't need any special equipement! Saving for later!!
Ksenia prints says
I actually make A LOT of farmers cheese for various recipes - Russian cuisine practically relies on it! Love your clear and concise approach to getting a flavorful, homemade product
Brianna says
I had no idea farmer's cheese was so easy to made. This cheese turned out so fresh and creamy.
Kate says
Never knew I could make my own farmers cheese! So glad I came across this recipe, can't wait to try!
Tristin says
Definitely bookmarking this Farmer’s cheese. I can’t wait to make this with my kids, they will be thrilled!!
Allyssa says
Thank you so much for sharing this homemade farmers cheese! It tasted amazing and very easy to make! Will surely make this one again!
Chenée says
I can't wait to try this! It would be perfect with stuffed shells or on top of pizza!
Heather says
I had no idea I could make this cheese at home! This looks like a really fun and tasty weekend project. Thanks for all of the great tips!
Jeri says
This looks really good, I can't wait to try it!
Chef Dennis says
Thank you for sharing this! We love to give it a try. The farmer’s cheese is yummy!
Addie says
I loved learning about farmer’s cheese! This was so helpful and informative.